If you are implementing any of Oracle NetSuite Integrations in GoSweetspot using Token-based Authentication, you'll be asked to provide a Consumer Key, Consumer Secret, Access Token, and Access Token Secret.
In this tutorial, we'll walk through how to find those in your Oracle NetSuite account, then connect with GoSweetspot using the Netsuite Integration settings option from the Integration Page.
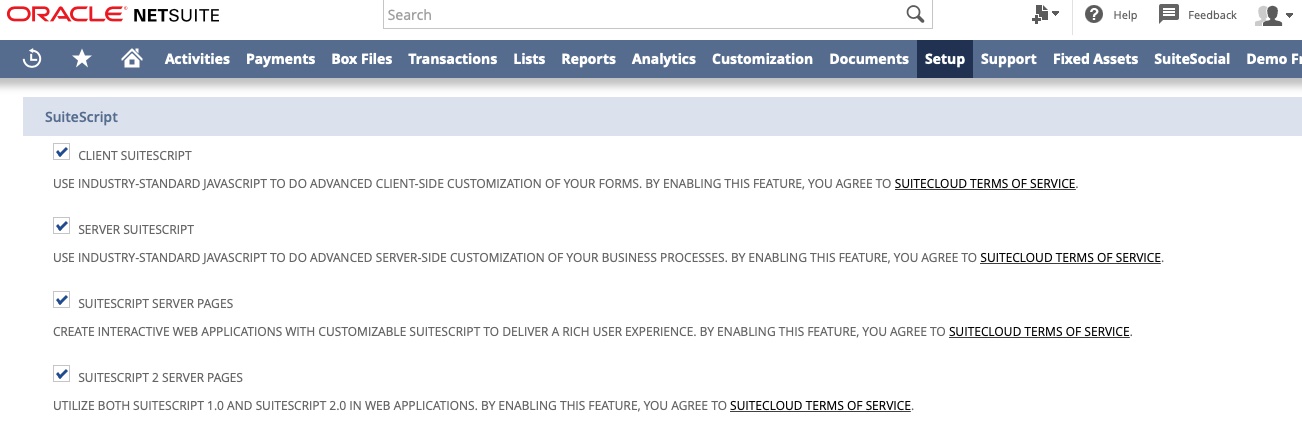
1) Enable Token-Based Authentication
Log into Oracle NetSuite and navigate to Setup then Company, Setup Tasks, Enable Features, and then SuiteCloud. Enable Client SuiteScript and Server SuiteScript.
2) Setup and Assign Authentication Roles
Under the setup tab, you can now configure Token Based Authentication roles to ensure only authorized users can access your NetSuite Cloud. Under Setup create a new role and click Add to select the following permissions to create a new role to enable token access (Administrator roles have the following already enabled):
- Access Token Management
- Log in using Access Tokens
- User Access Tokens

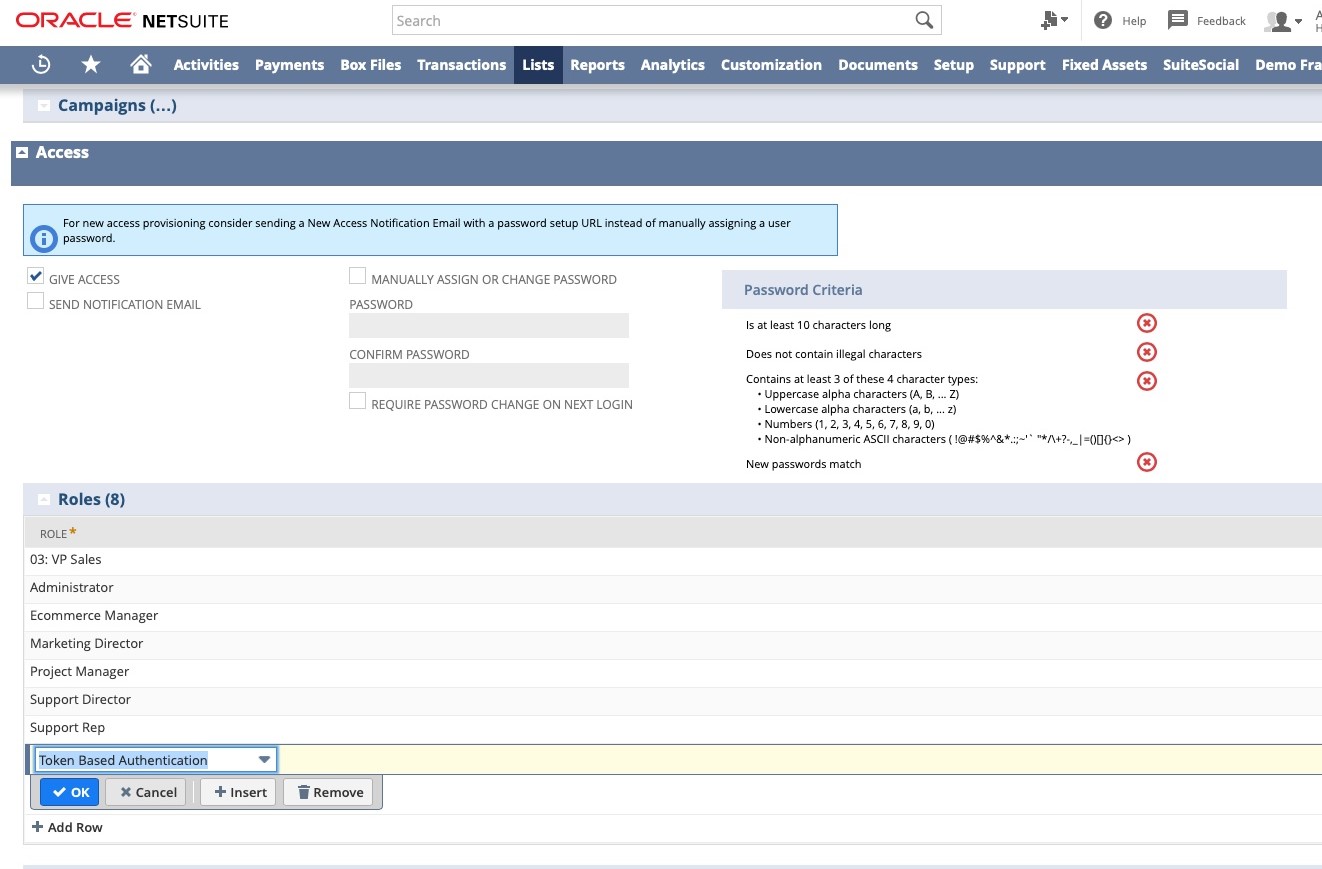
Now, navigate to Lists then Employees, and the Employees tab. Click Edit next to each employee you want to add token authentication permissions to. Click Access and under Role add the token authentication role we just created. Click Add then Save.
Finally, navigate to Global Permissions and set Webservices to Full and Departments to View.
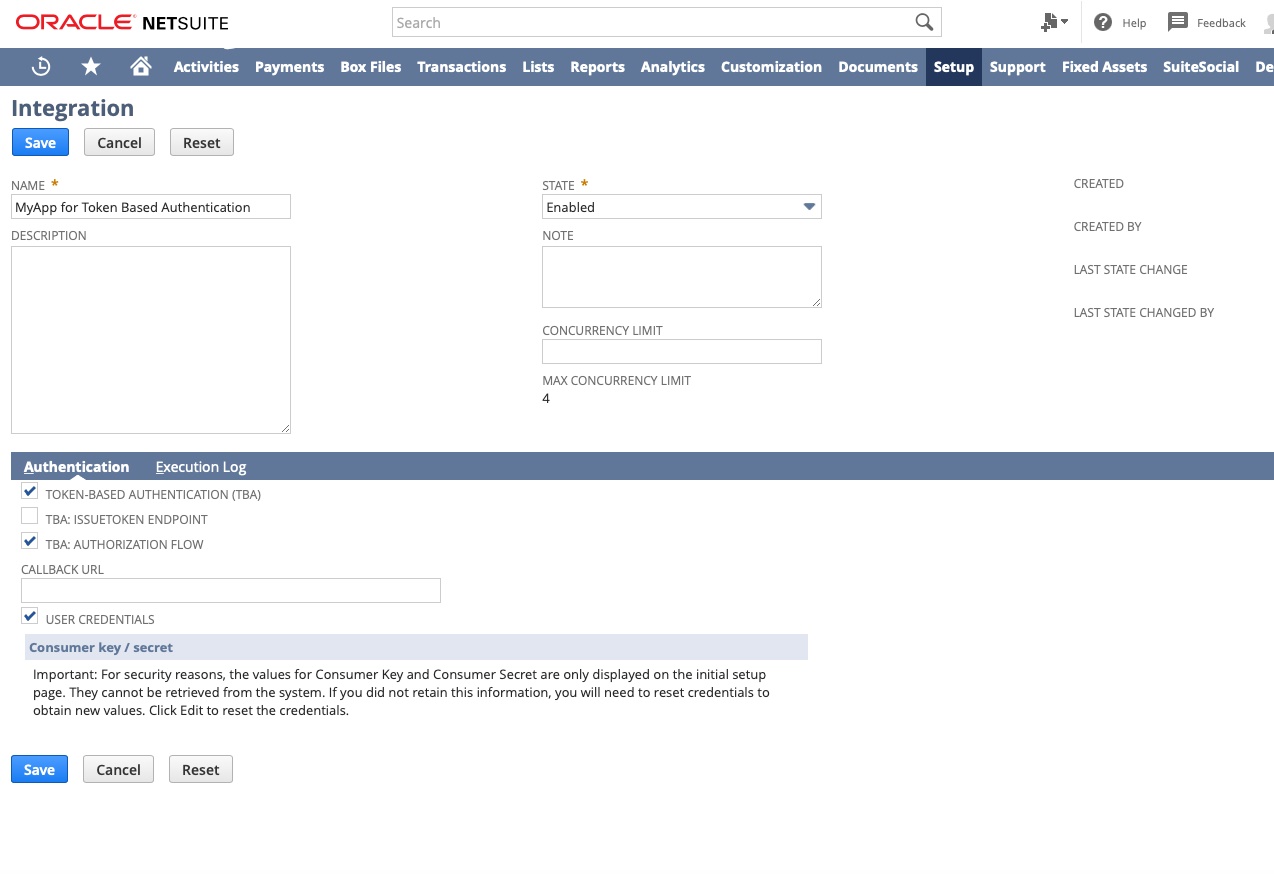
3) Generate Keys
Navigate to Setup then Integrations and Manage Integrations. Click New. Fill in the name with whatever makes sense, and check the TOKEN-BASED AUTHENTICATION (TBA) box. Uncheck the USER CREDENTIALS box if users should only be able to authenticate using tokens.
Once you save you'll be given a Consumer Key and Consumer Secret. Copy and paste these somewhere safe.
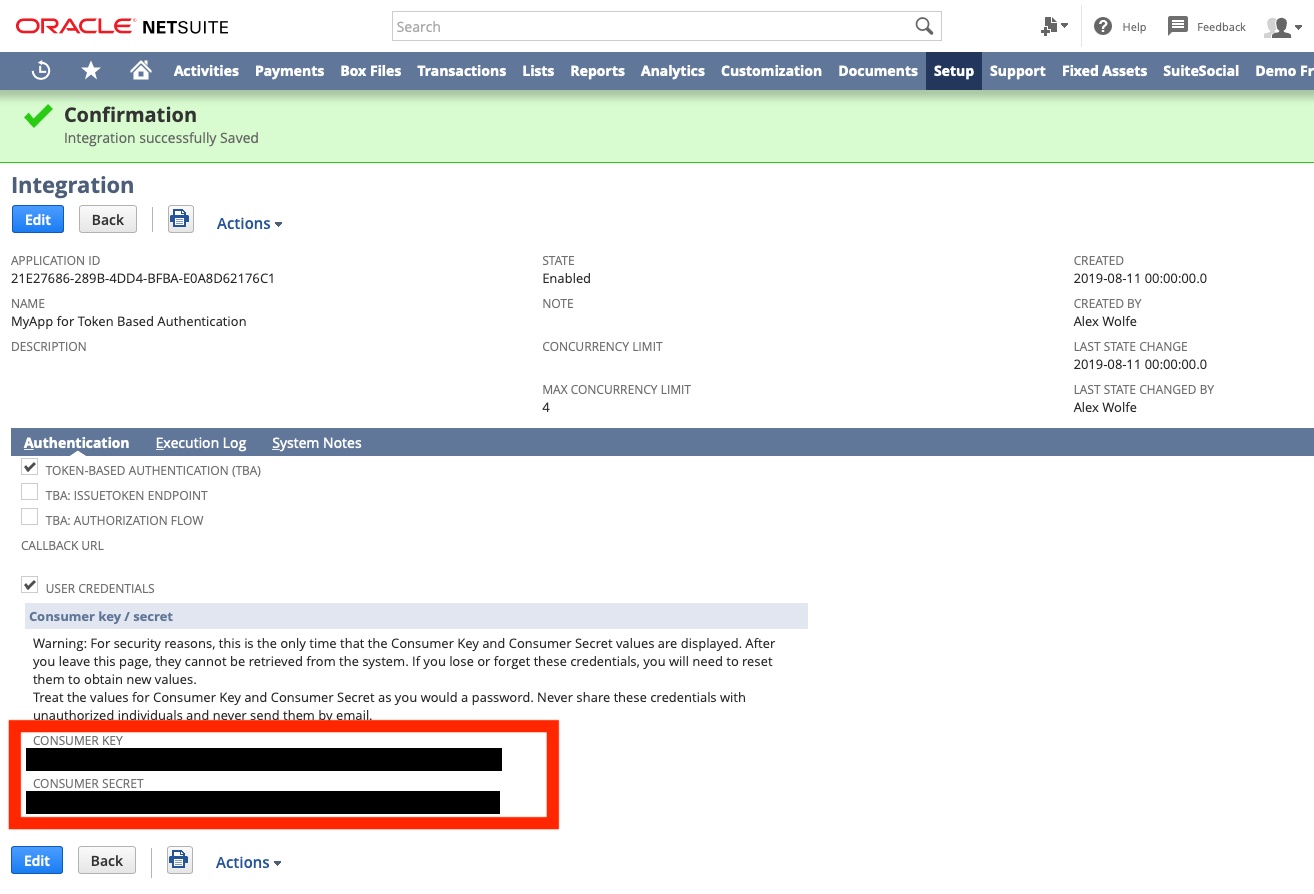
Save these two keys immediately. Once you leave this screen you will never be able to get them again, or you'll have to repeat Step 3 with a new integration.
4) Creating the Token
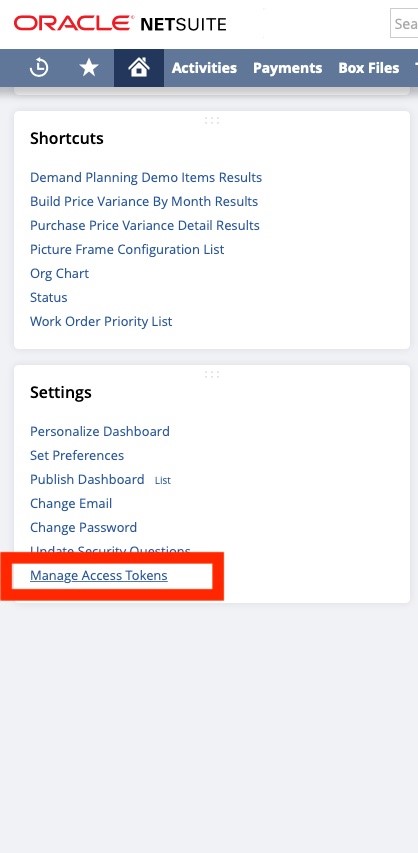
Now login with the user who is going to use the access tokens in GoSweetspot. Navigate to Manage Access Tokens on the home dashboard under Settings.
Create a New Token and select the integration name you set in Step 3. A Token ID and Token Secret will be created. Copy and paste these somewhere safe.
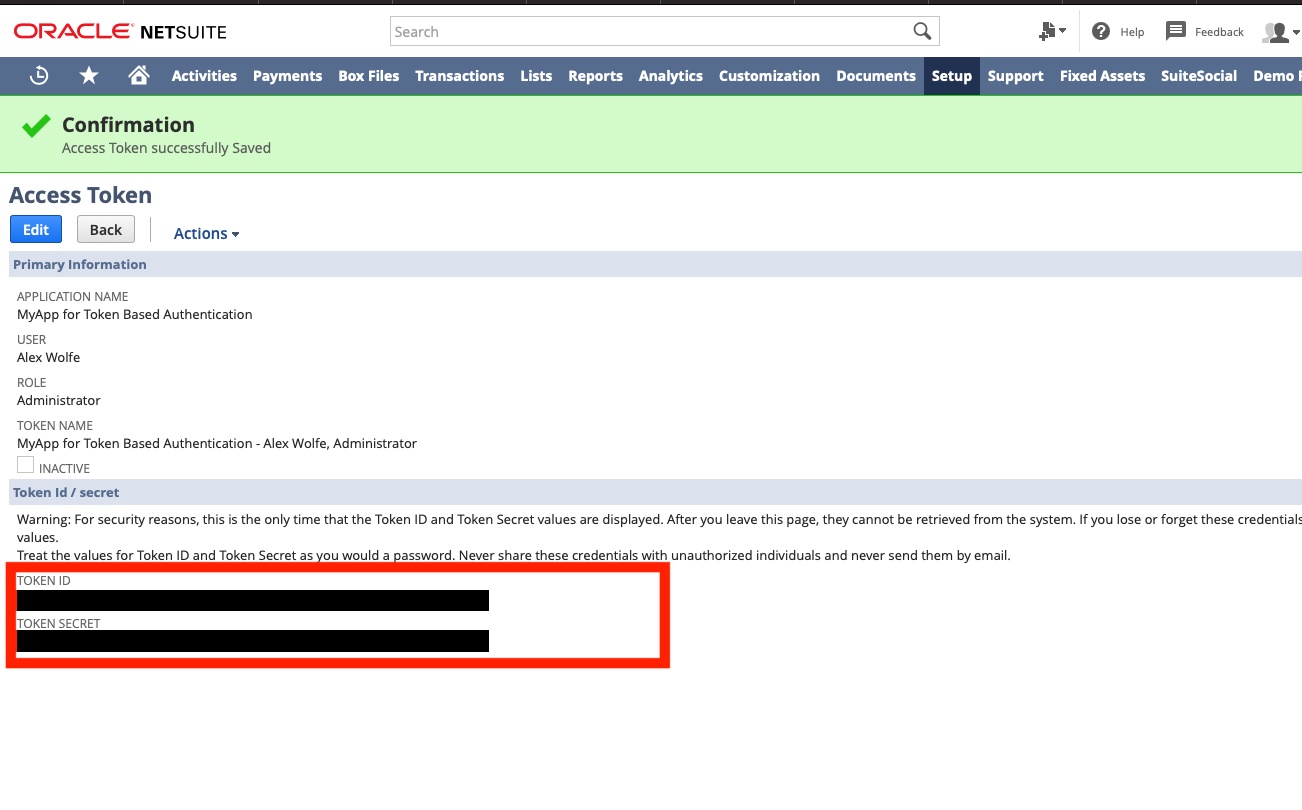
Save these two keys immediately. Once you leave this screen you will never be able to get them again, or you'll have to repeat Step 3 with a new integration.
5) Add Credential in GoSweetspot
Remember to add the credentials back to the GoSweetspot Integration Setting using this article.